
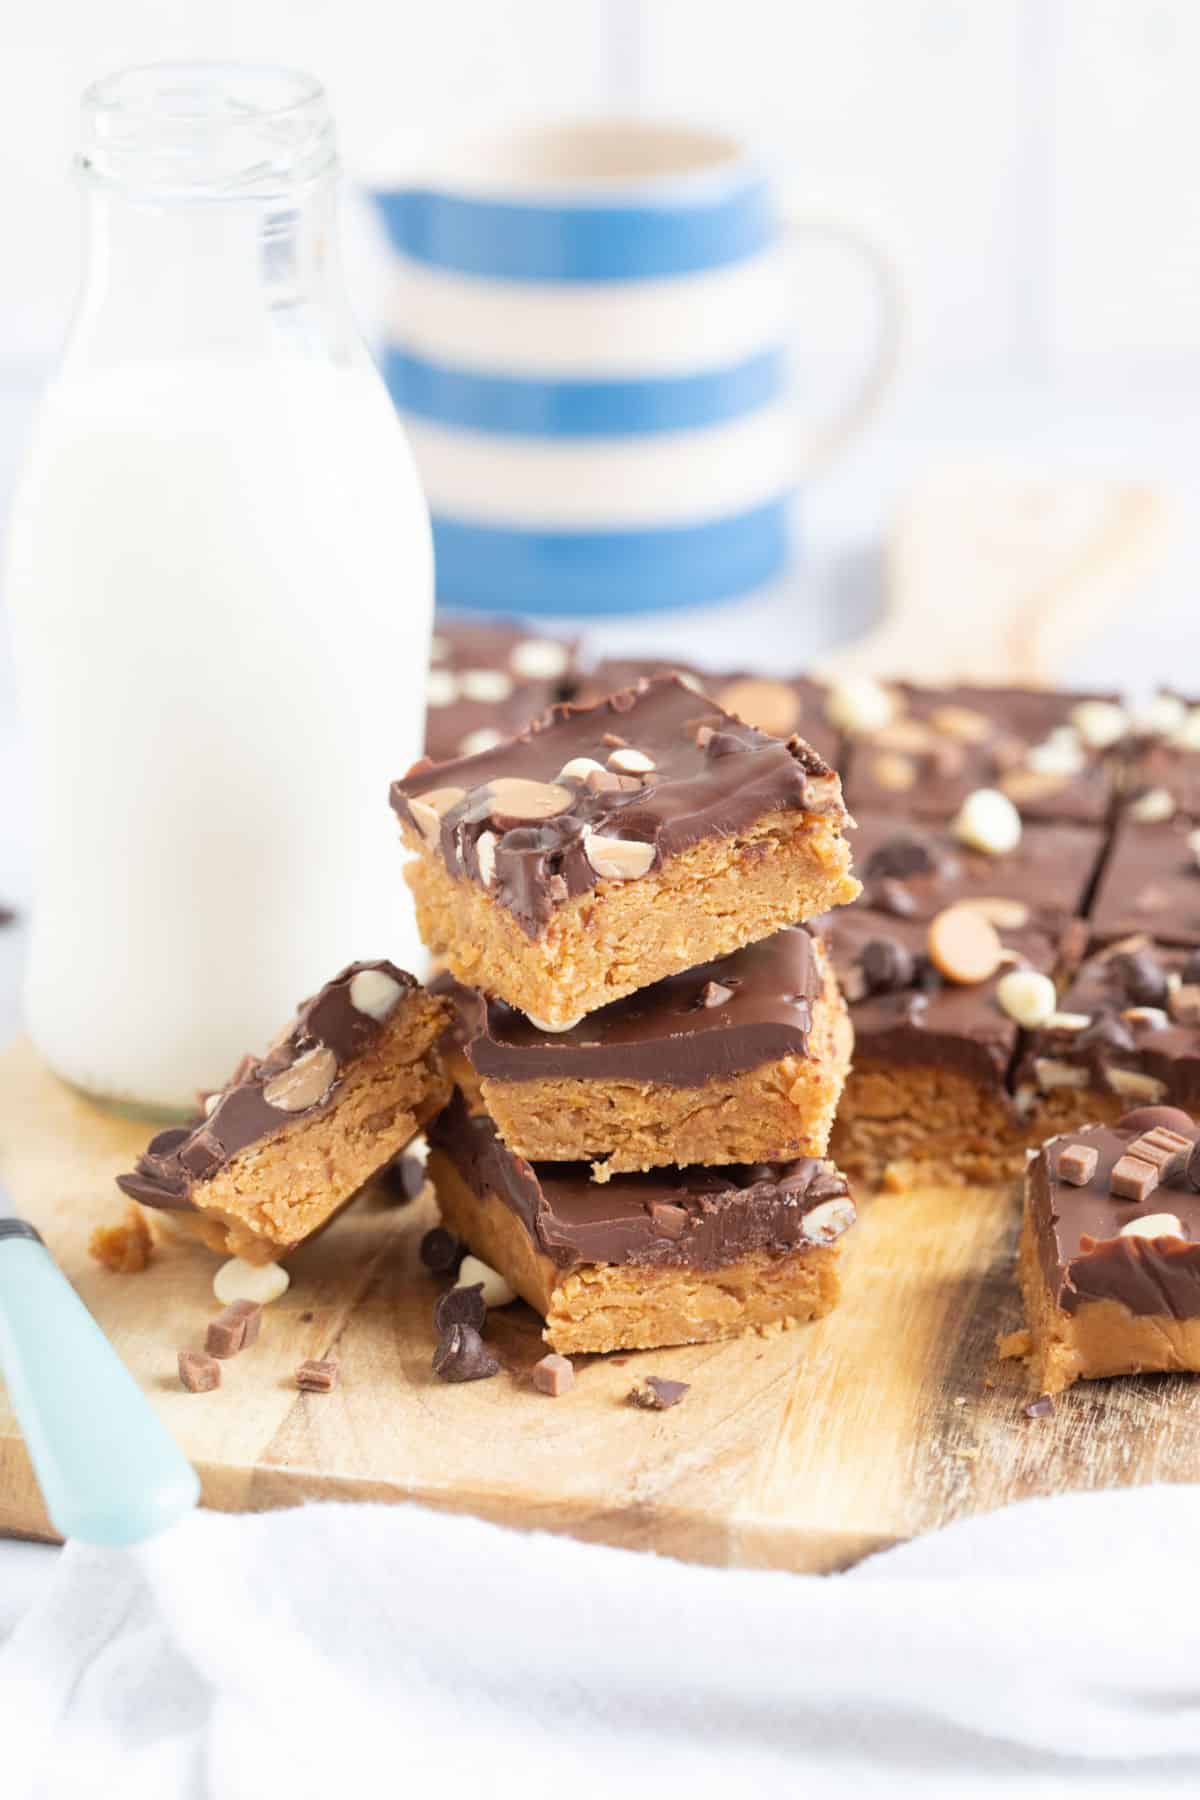
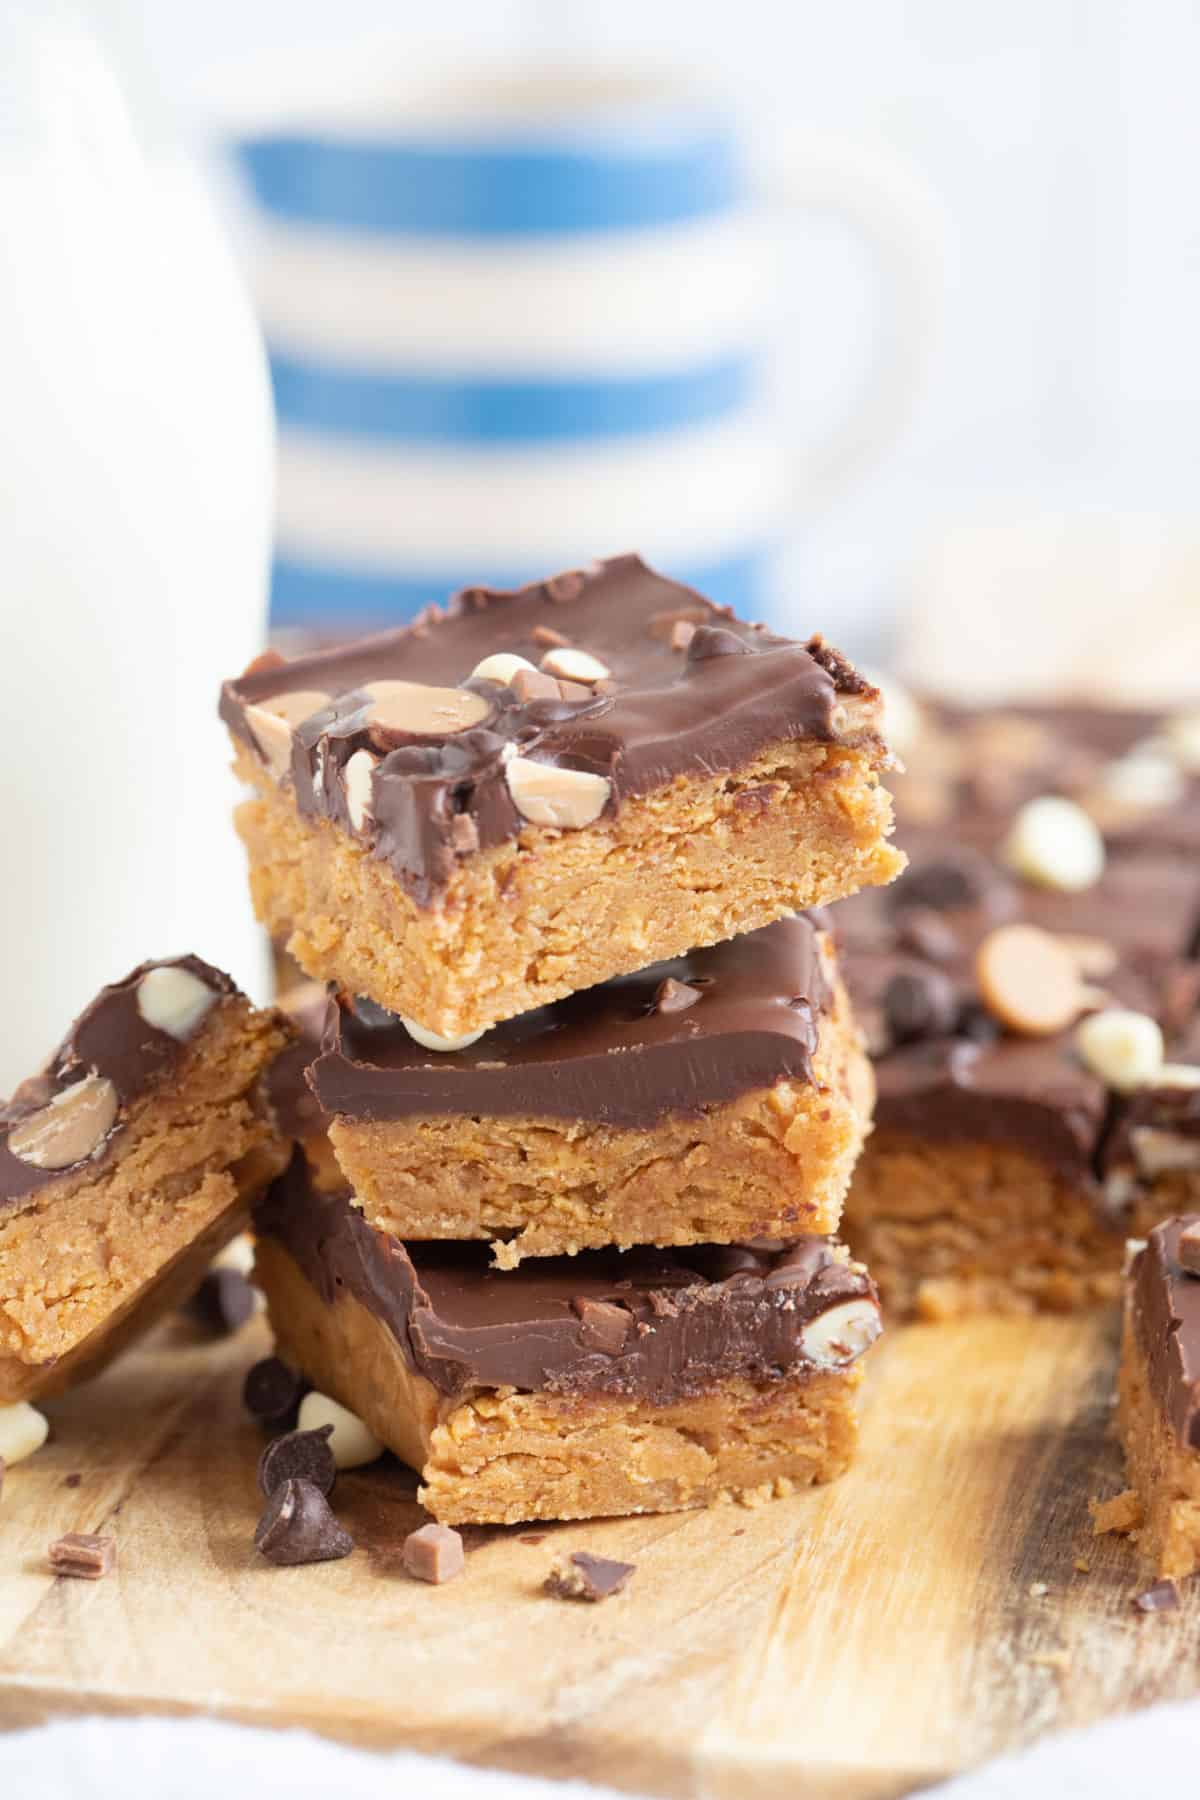
If you love chocolate and peanut butter, you're going to love these no-bake chocolate peanut butter bars.
They're super easy to make, require no oven time, and are perfect for satisfying your sugar craving!
Save this recipe for later?
Made with peanut butter, golden syrup, and Crunchy Nut Cornflakes, the base is deliciously crunchy, whilst the smooth chocolate topping gives these bars the wow factor!
You won't be able to stop at one!
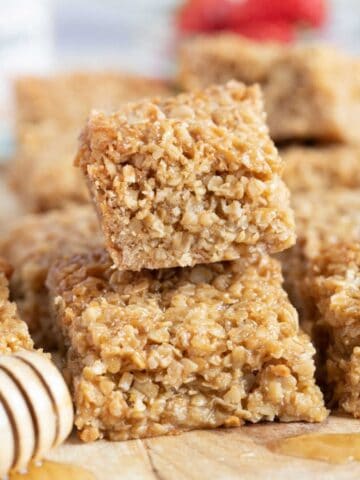
👩🍳 Love no-bake treats? Try my easy no-bake flapjacks next!
Jump to:
✔️ Why you'll love this recipe!
- It only takes 10 minutes to prep these no-bake peanut butter crunch bars. Plus, since there's no baking involved, you don't have to worry about heating up your kitchen on a hot day.
- You only need a few simple ingredients to make these bars, and chances are you already have most of them in your pantry.
- These bars are thick, rich, and decadent, making them the perfect treat for any chocolate and peanut butter lover.
- The peanut butter layer is crunchy, nutty, and sweet, while the chocolate layer is rich, smooth, and indulgent.
- These no-bake chocolate peanut butter bars are a must-try for anyone who has a sweet tooth!
🛒 Ingredient notes
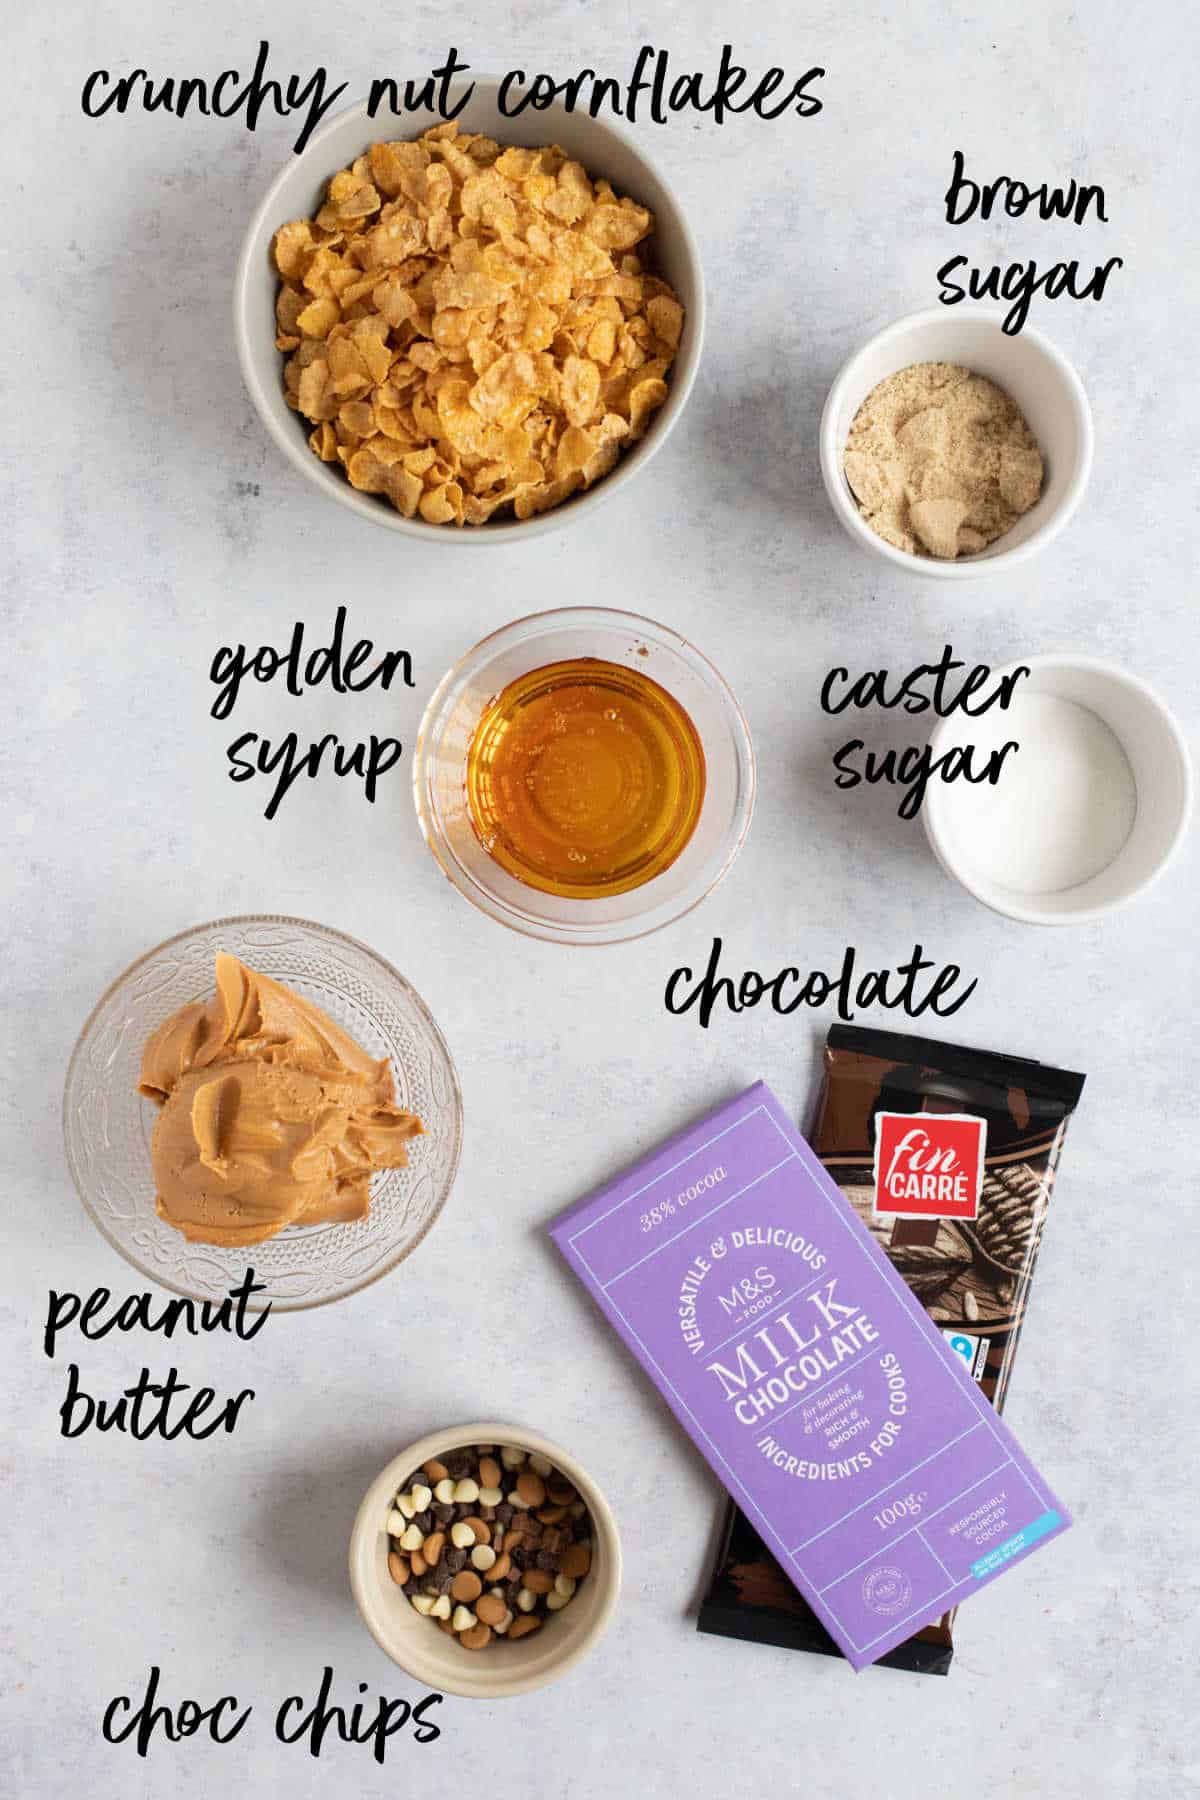
When it comes to making no-bake chocolate peanut butter bars, the ingredient list is relatively short and straightforward.
For the crunchy peanut butter base layer;
Peanut Butter - use smooth or crunchy, it doesn't matter!
Golden Syrup - helps the base layer stick together and gives the bars a lovely caramel sweetness. You can also use honey.
Sugars - I like to use a combination of light brown sugar and white caster sugar for the best texture and taste.
Crunchy Nut Cornflakes - gives the bars a delicious crunch. You could also use regular cornflakes or even rice krispies.
For the chocolate topping;
Chocolate - a combination of milk and dark chocolate, broken into pieces and melted.
Oil - a drop of vegetable oil prevents the top from cracking when cut with a knife.
🔪 Instructions
This recipe requires no baking and can be made quickly with just a few simple ingredients.
The recipe card with ingredient quantities and detailed instructions can be found at the bottom of the post
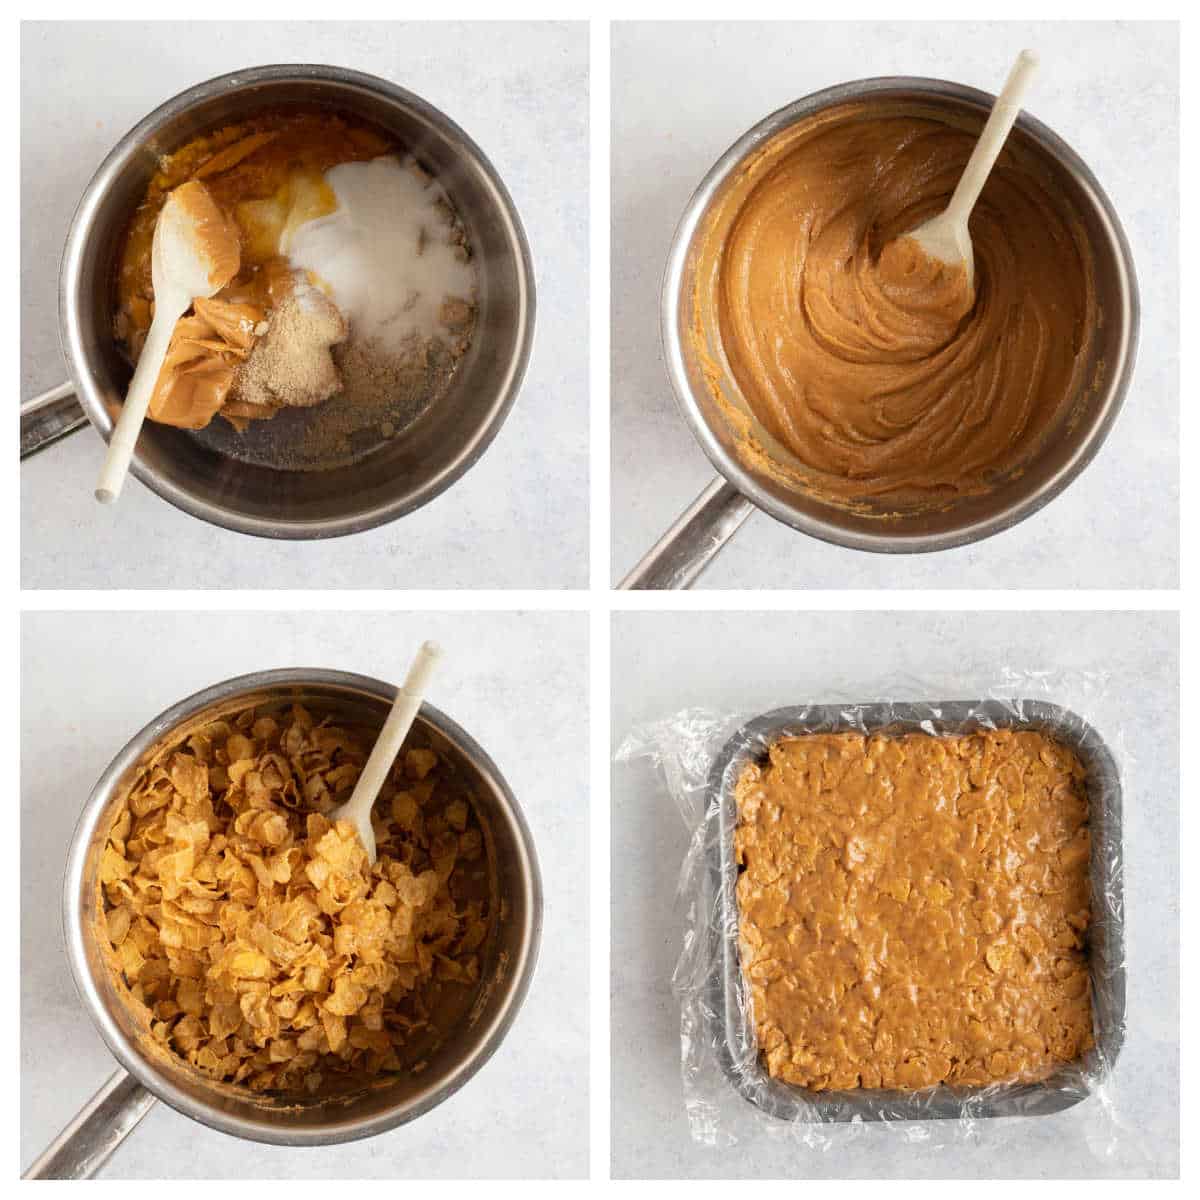
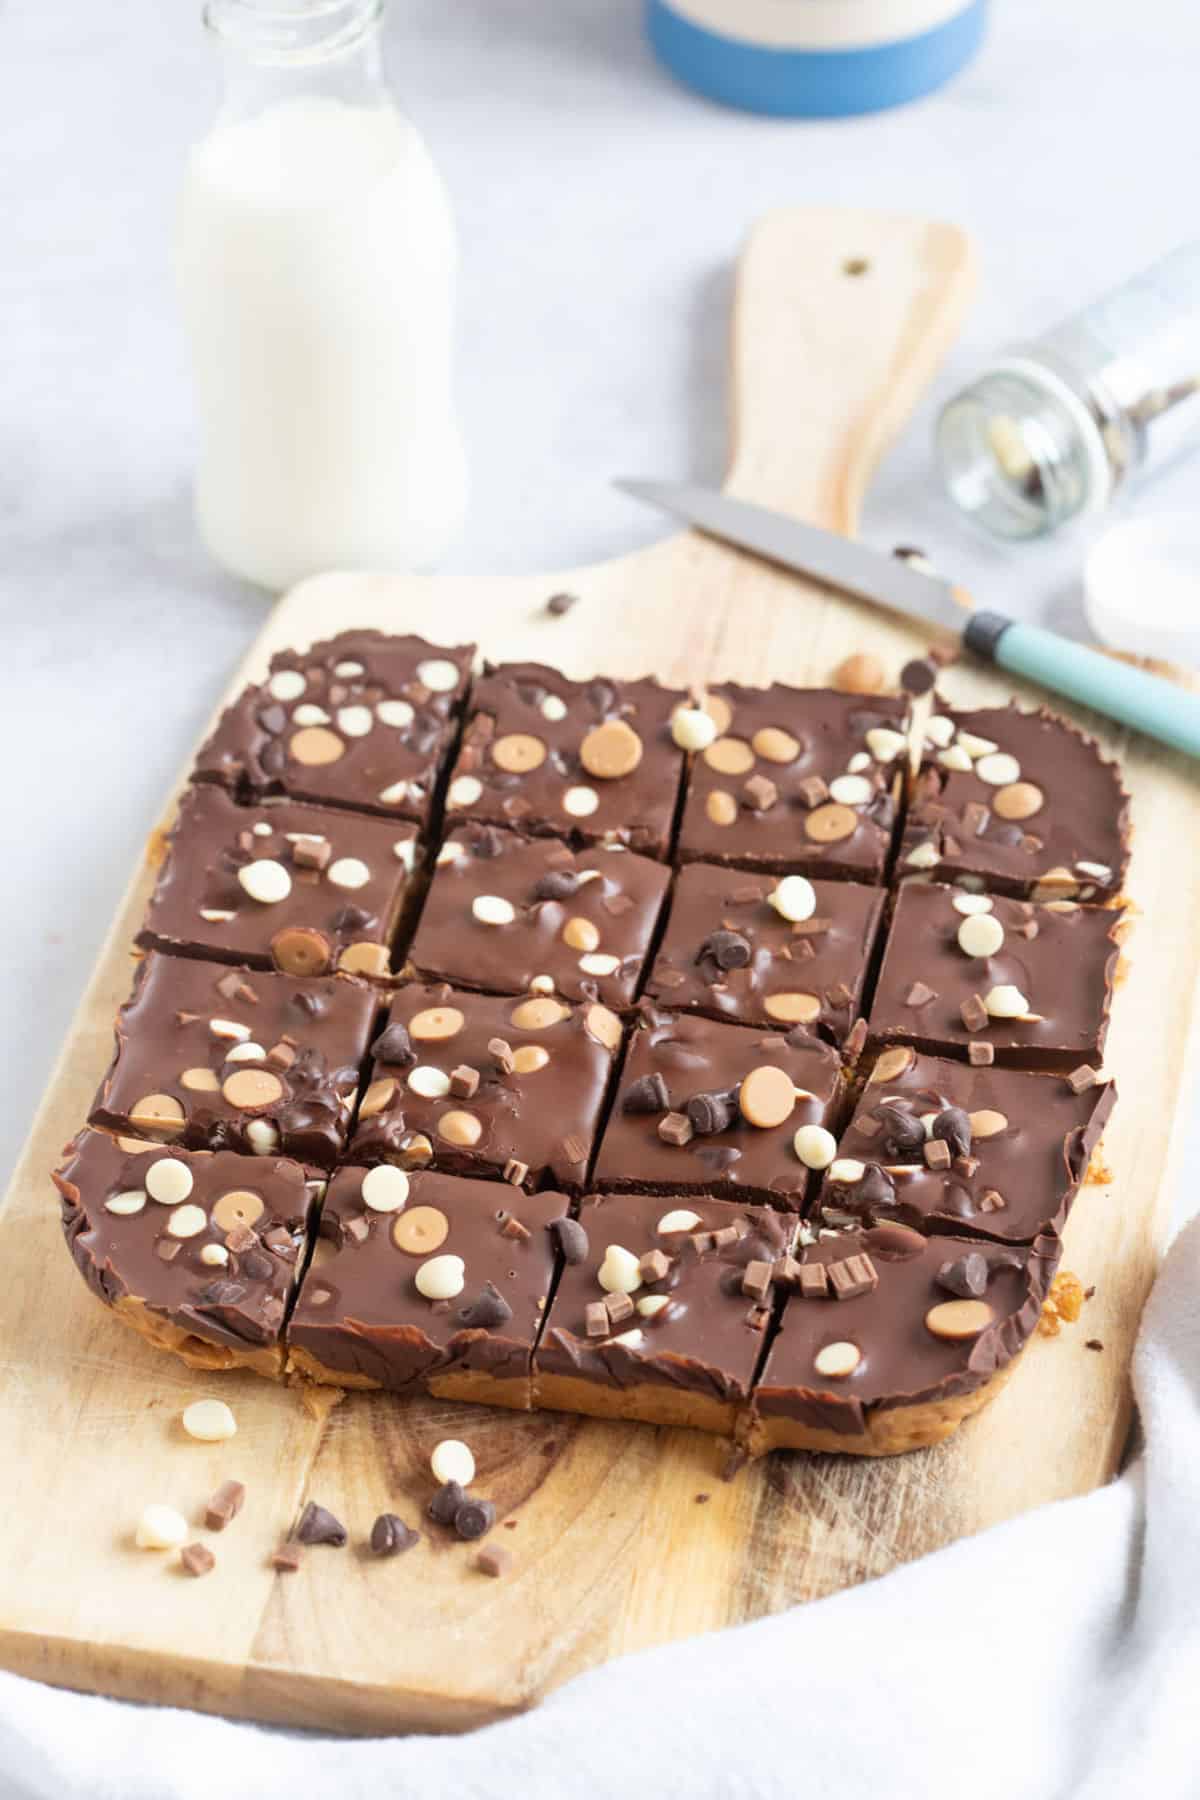
One: Line a 20cm (8") square tin with cling film (plastic wrap).
Two: In a large saucepan melt together the peanut butter, golden syrup, and sugars over low heat.
Three: Mix in the crushed crunchy nut cornflakes and mix to combine.
Four: Spoon the peanut butter base layer into the tin and press it down firmly with the back of a heavy spoon.
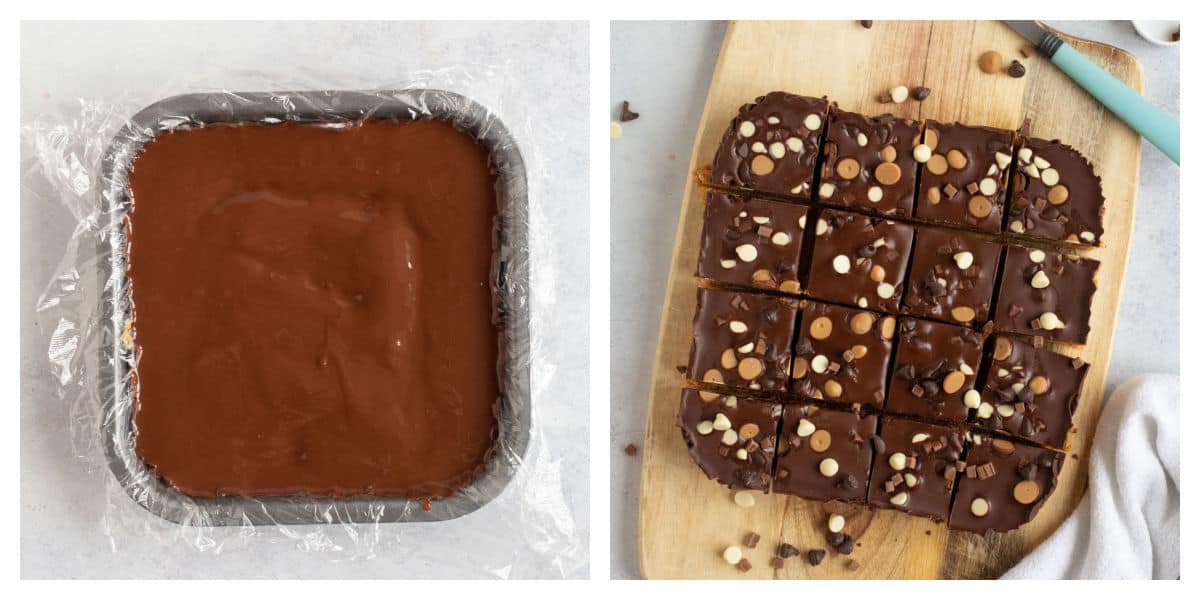
Five: Melt the chocolate pieces and a drop of vegetable oil in the microwave until glossy and smooth. I microwave in 30-second bursts and stir, to avoid overcooking the chocolate.
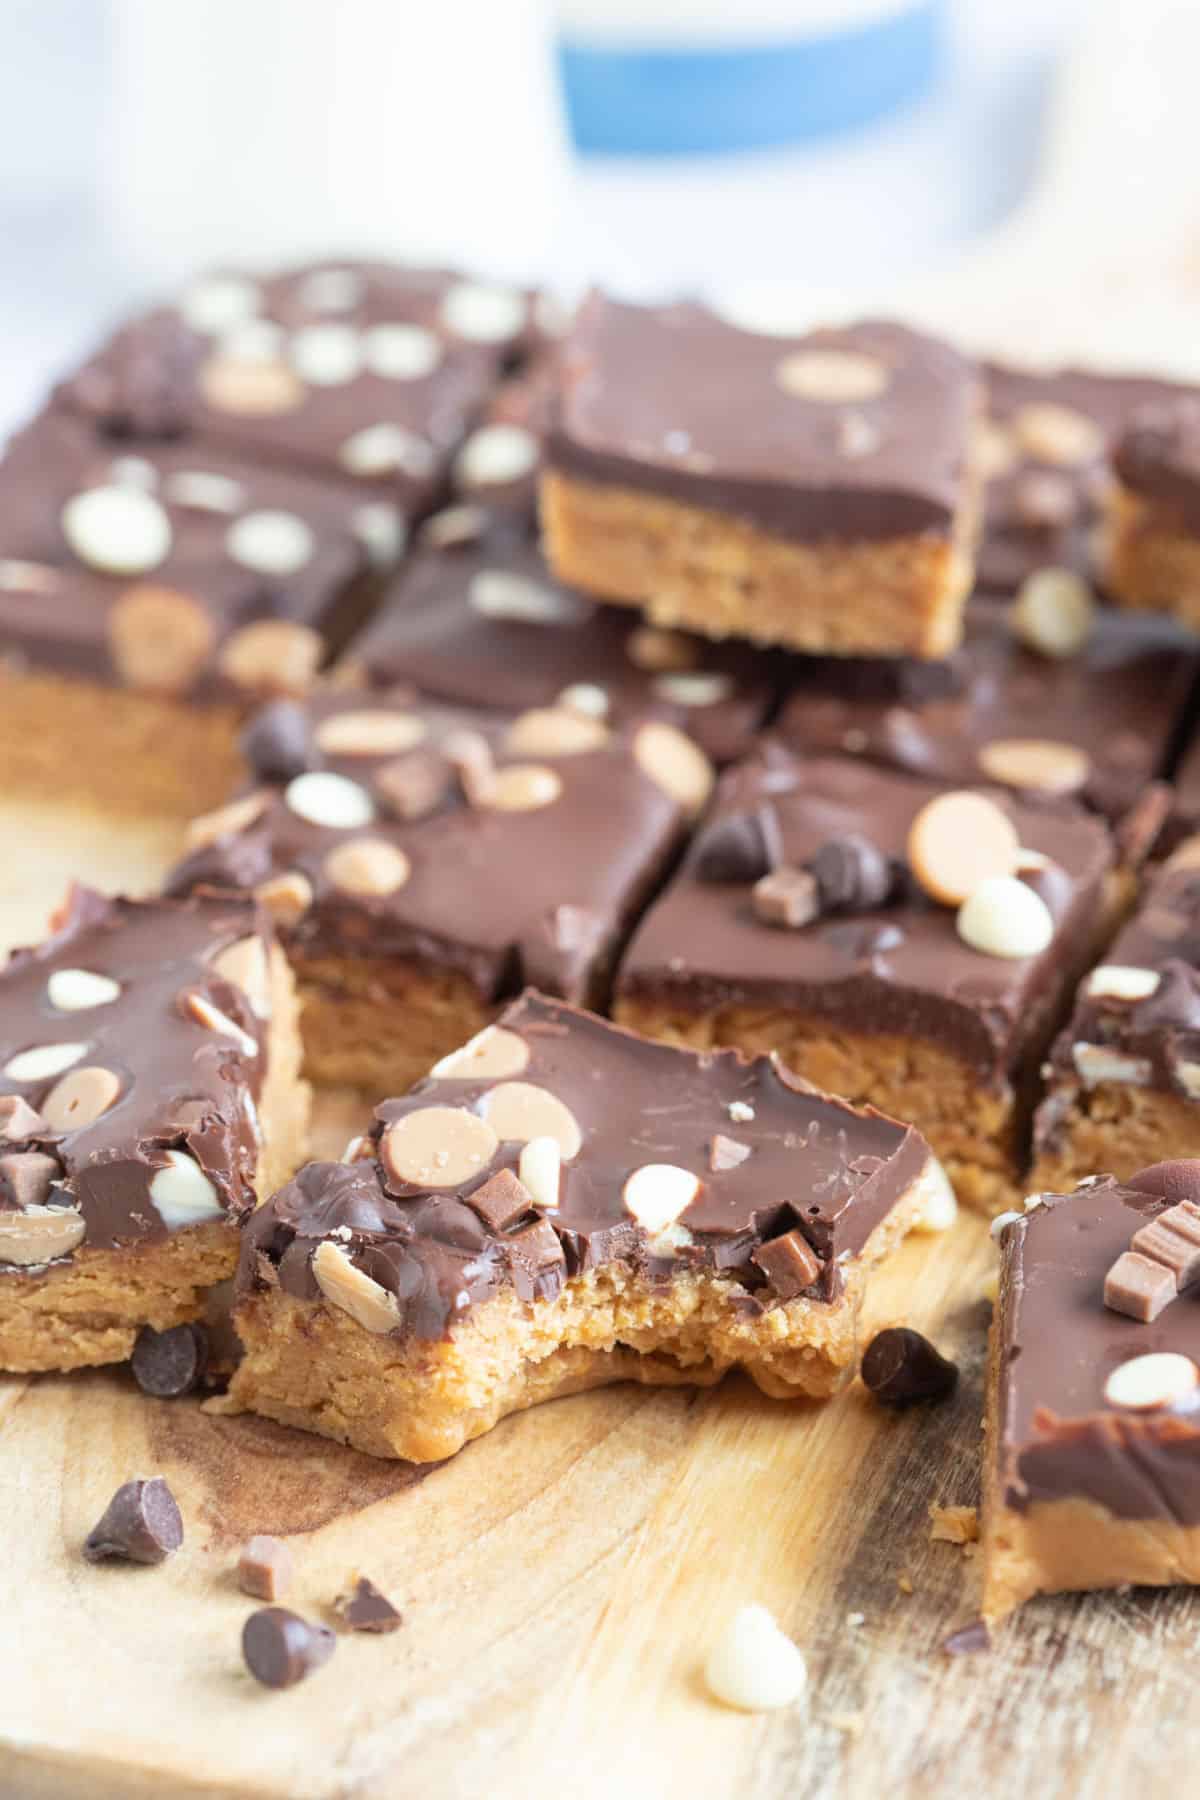
Six: Spread the melted chocolate onto the peanut butter layer and sprinkle with chocolate chips.
Seven: Chill for 2 hours before cutting into squares.
Top Tips
- Use good quality chocolate and peanut butter, as they will greatly affect the final taste and texture of the bars.
- Lining the tin is very important as you don't want the bars to stick!
- It's important to chill the bars for at least 2 hours before cutting them into squares. This will help them firm up and hold their shape. I like to chill them in the fridge overnight for the best results.
- Use a long sharp knife to cut neat squares and clean the knife off between each cut (be careful when doing this).
🍴 Serving suggestions
Serve the no-bake peanut bars for a sweet treat with a cup of tea, cup of coffee, or a glass of cold milk. They make great after-school snacks, and you can even serve them at parties and bake sales.
They are also a delicious no-bake dessert with vanilla ice cream.
📖 Variations
- For a crunchier textured base layer, add in some chopped peanuts.
- Swap the chocolate topping for some drizzled melted peanut butter instead.
- Add 100g of chocolate chips into the base layer for a more chocolatey taste.
- Mix in 2 teaspoons of vanilla extract to the base layer for more flavour.
🥡 Storage
Store - If it's not too hot, you can store your bars at room temperature, in an airtight container. If it's warm, store them in the fridge instead.
Freeze - To freeze your bars, wrap them tightly in cling film (plastic wrap) and then place them in an airtight container or freezer bag. They will keep well in the freezer for up to 3 months. When you're ready to enjoy them, simply let them defrost at room temperature for a few hours before serving.
❓ Frequently asked questions
Yes, you can use almond butter or any other nut butter that you prefer.
These bars can be stored in an airtight container in the fridge (or at room temperature if it's not too hot) for up to a week.
Yes, you can make these bars vegan by using dairy-free chocolate.
😋 More no bake treats you might like
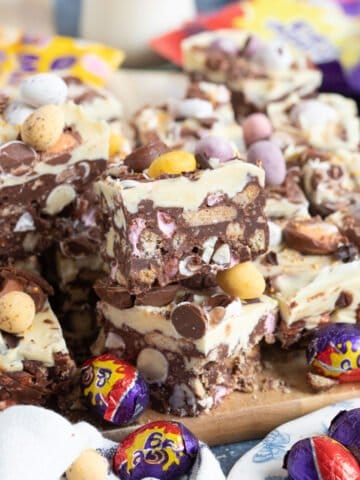
- Easy Chocolate Tiffin
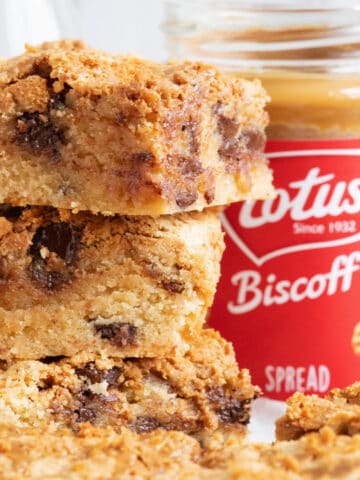
- Biscoff Tiffin
- Chocolate Biscuit Cake
- Chocolate Hedgehog Slice
- Chocolate Cracknell
Tried it? Let me know what you think and rate it ⭐️ below. Tag me @effortlessf00d-I'd love to see! Don't forget to subscribe for more recipes.
Recipe
No-Bake Chocolate Peanut Butter Bars (UK Recipe)
Save this recipe for later?
Ingredients
- 250 g Peanut Butter crunchy or smooth
- 120 g Golden Syrup
- 50 g Caster Sugar
- 50 g Light Brown Sugar
- 100 g Crunchy Nut Cornflakes lightly crushed
For the chocolate topping
- 100 g Dark Chocolate broken into pieces
- 100 g Milk Chocolate broken into pieces
- ⅛ teaspoon Vegetable Oil
Instructions
- Line a 20cm (8") square tin with cling film (plastic wrap).
- In a large saucepan melt together the peanut butter, golden syrup, and sugars over low heat.250 g Peanut Butter, 120 g Golden Syrup, 50 g Caster Sugar, 50 g Light Brown Sugar
- Mix in the crushed crunchy nut cornflakes and mix to combine.100 g Crunchy Nut Cornflakes
- Spoon the peanut butter base layer into the tin and press it down firmly with the back of a heavy spoon.
- Melt the chocolate pieces and a drop of vegetable oil in the microwave until glossy and smooth. I microwave in 30-second bursts and stir, to avoid overcooking the chocolate.100 g Dark Chocolate, 100 g Milk Chocolate, ⅛ teaspoon Vegetable Oil
- Spread the melted chocolate onto the peanut butter layer and sprinkle with chocolate chips.
- Spread the melted chocolate onto the peanut butter layer and sprinkle with chocolate chips.
Notes
- Use good quality chocolate and peanut butter, as they will greatly affect the final taste and texture of the bars.
- Lining the tin is very important as you don't want the bars to stick!
- It's important to chill the bars for at least 2 hours before cutting them into squares. This will help them firm up and hold their shape. I like to chill them in the fridge overnight for the best results.
- Use a long sharp knife to cut neat squares and clean the knife off between each cut (be careful when doing this).
- For a crunchier textured base layer, add in some chopped peanuts.
- Swap the chocolate topping for some drizzled melted peanut butter instead.
- Add 100g of chocolate chips into the base layer for a more chocolatey taste.
Sheila says
Such an easy no bake recipe and I loved the cornflakes in the base layer!