
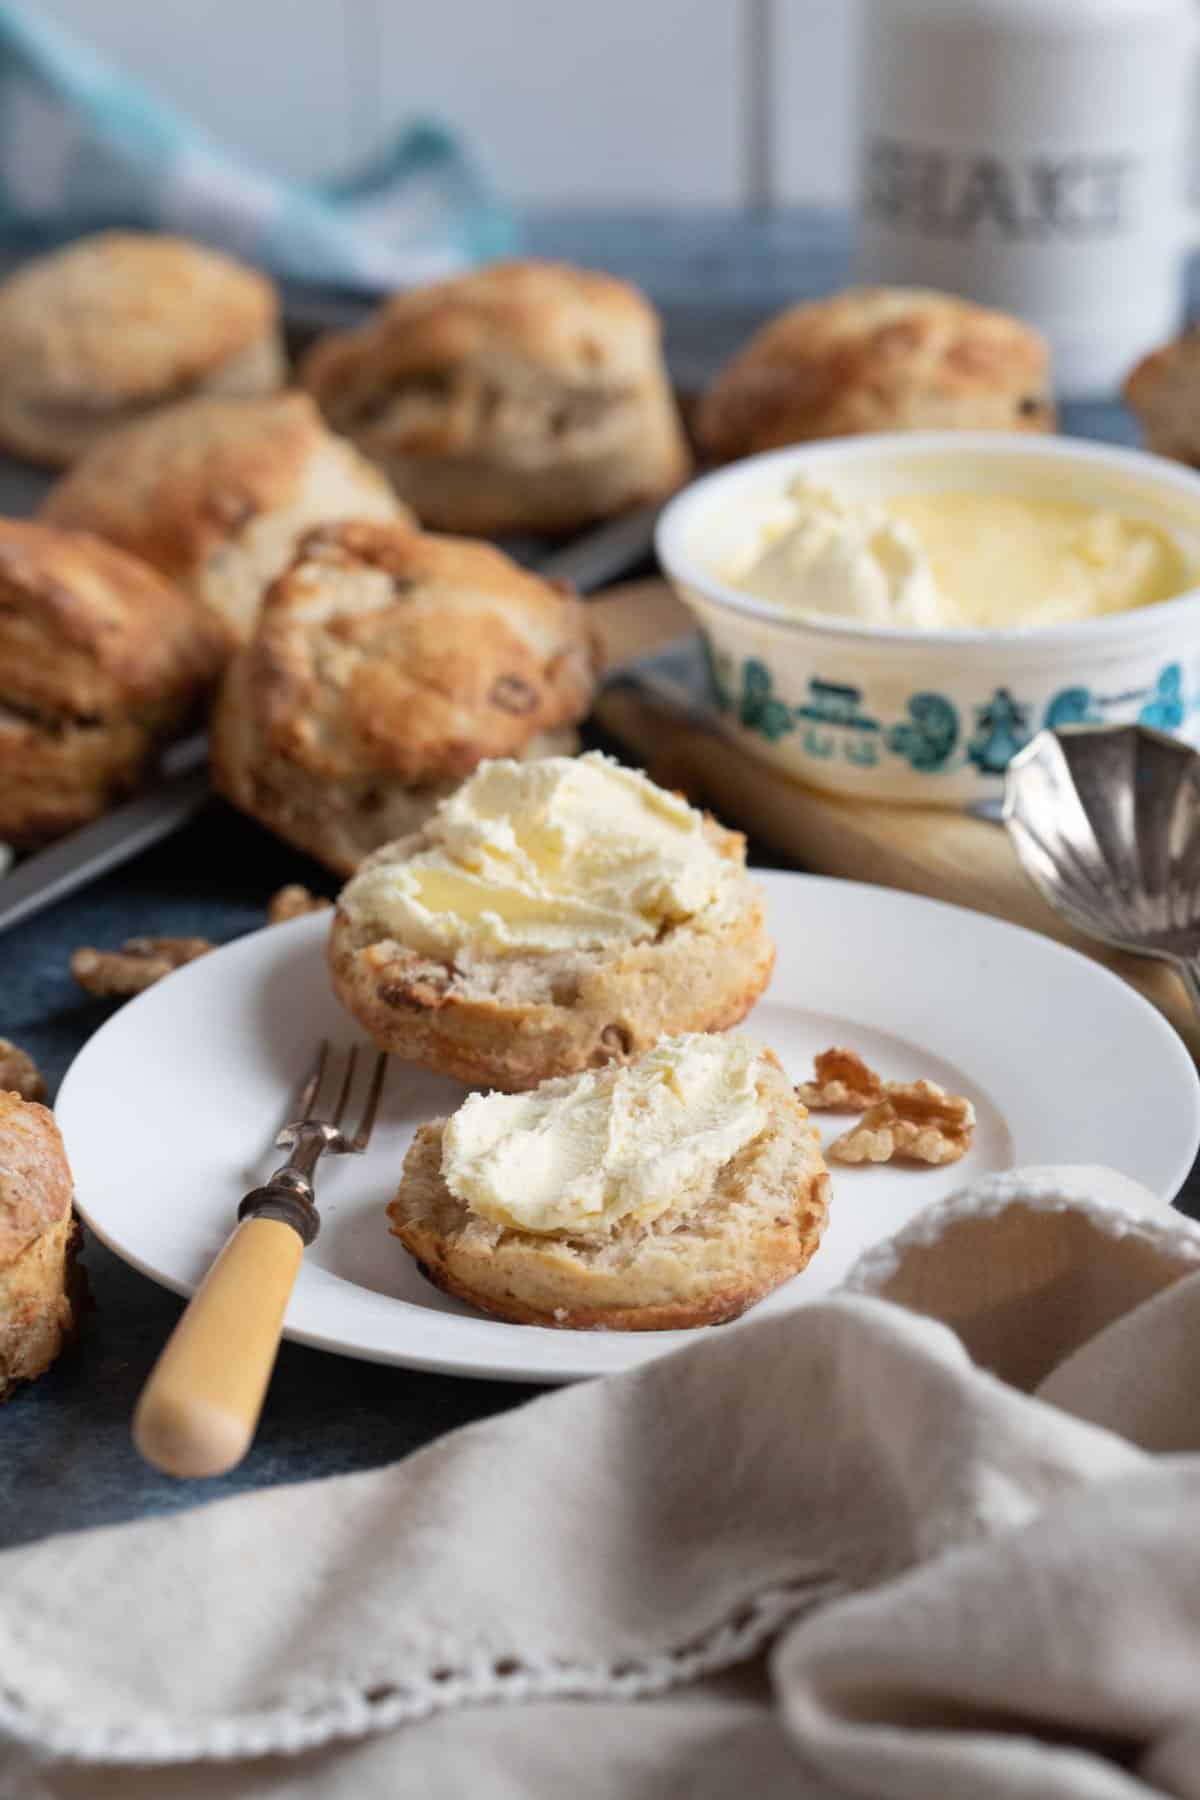
Date and walnut scones are a delicious twist on the classic British scone. Perfect for teatime, these scones combine the sweetness of dates with the crunch of walnuts. Best of all, they're easy to make and great with butter or clotted cream.
Save this recipe for later?
I adore baking scones! They're one of the simplest things to make and an ideal recipe for novice bakers.
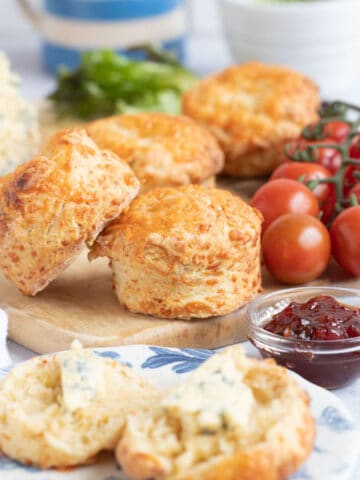
👩🍳 Love scones? Try my cherry and almond scones or air fryer scones!
Jump to:
🛒 Ingredients
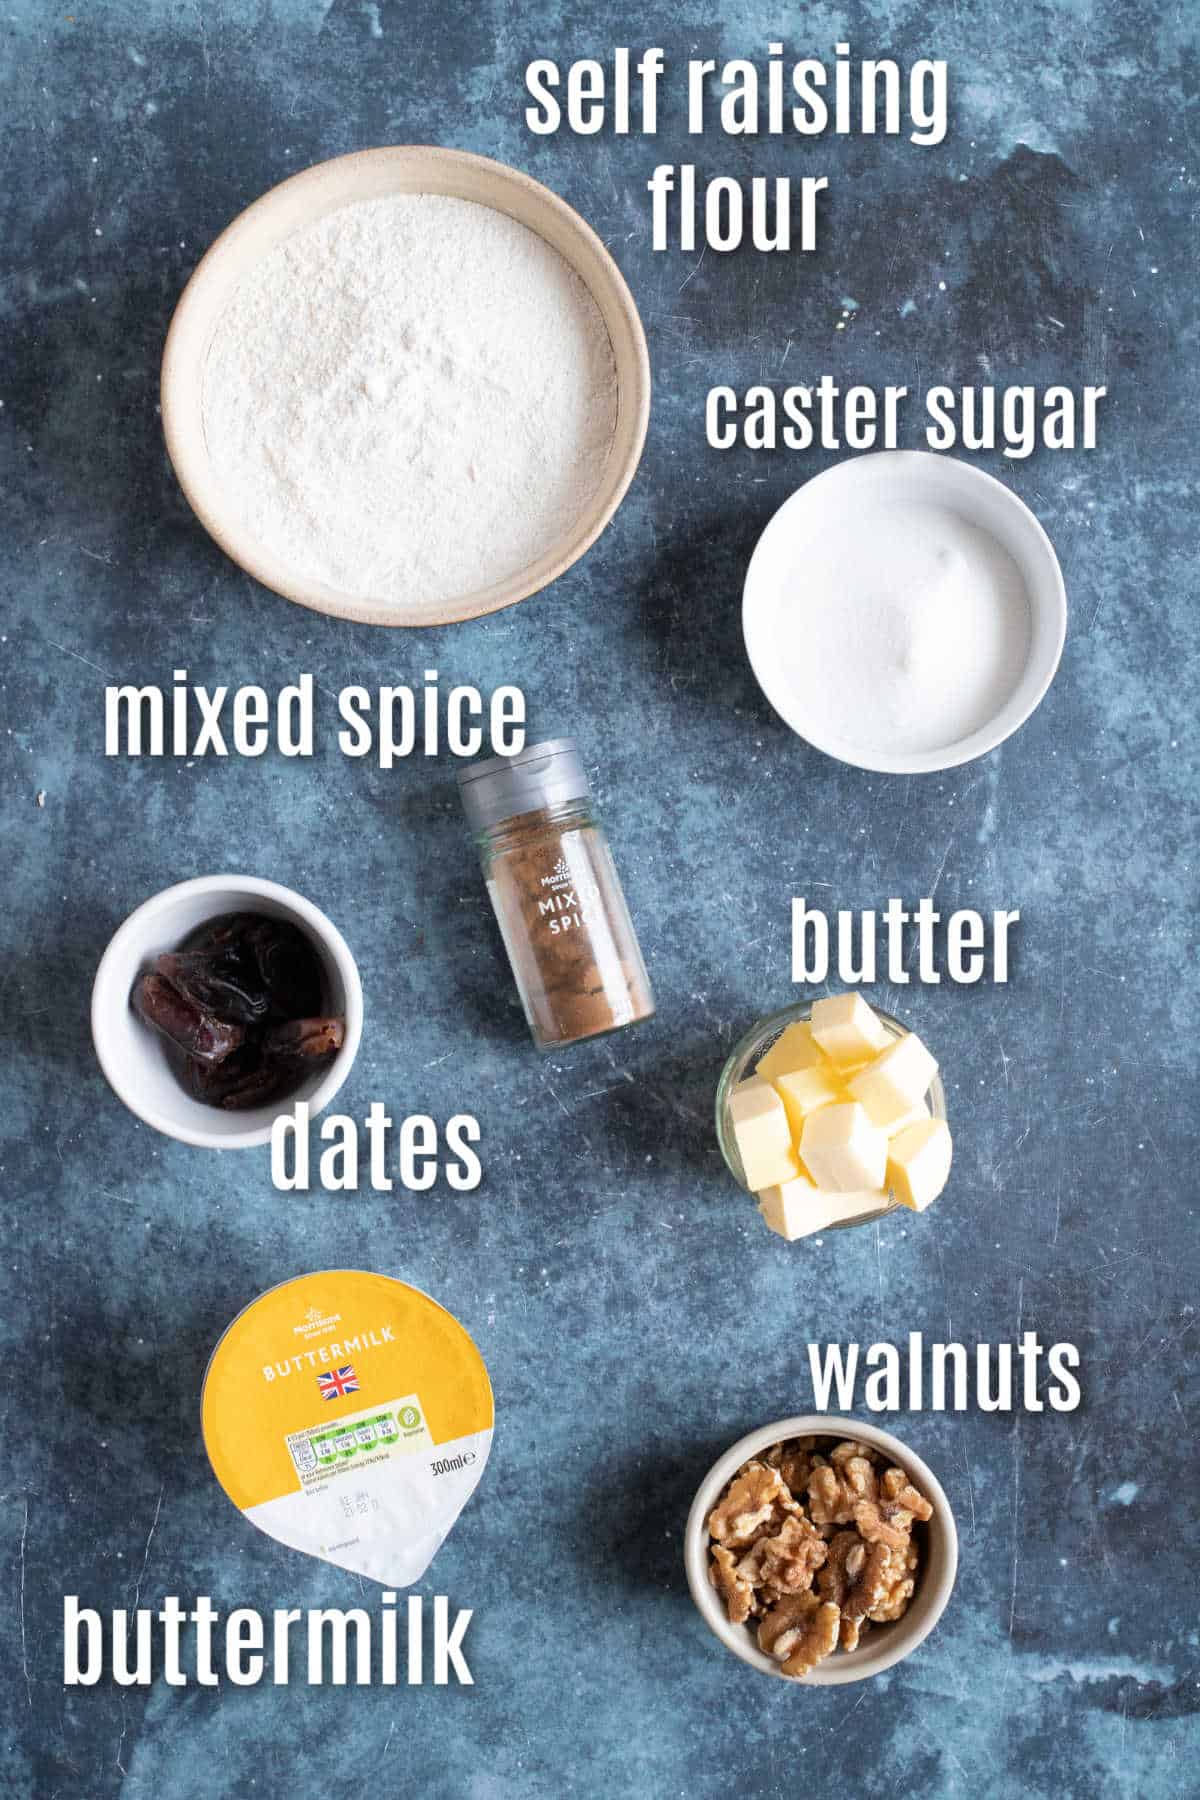
Self Raising Flour - I use white flour, but you could use wholemeal or half and half.
Bicarbonate of Soda - raising agent.
Salt - for flavour.
Sugar - I've used caster sugar but you could swap for light brown sugar.
Mixed Spice - gives the scones a gentle spiced flavour.
Butter - cubed and fridge cold.
Buttermilk - to ensure the scones are light and fluffy.
Walnuts - chopped.
Dried Dates - stones removed and chopped. I use Medjool dates.
Milk - for glazing.
🔪 How to make date & walnut scones
The recipe card with ingredient quantities and detailed instructions can be found at the bottom of the post
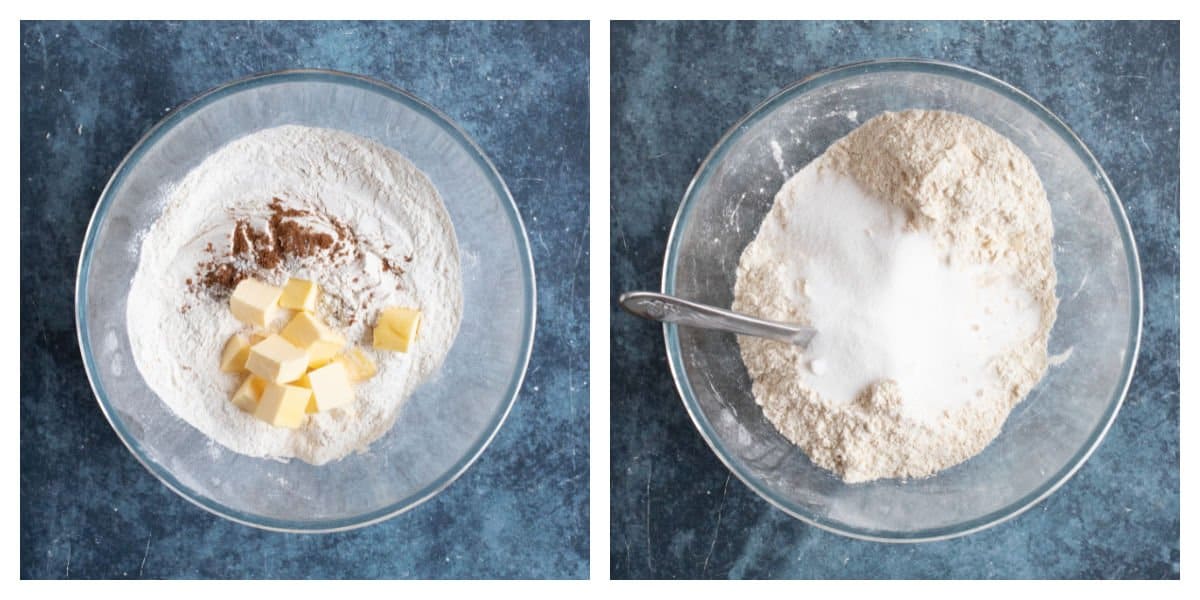
One: Sieve the flour into a large mixing bowl and stir in the bicarbonate of soda, salt, and mixed spice. Rub the cubed cold butter in with your hands until you get a breadcrumb consistency.
Two: Stir in the sugar with a metal knife.
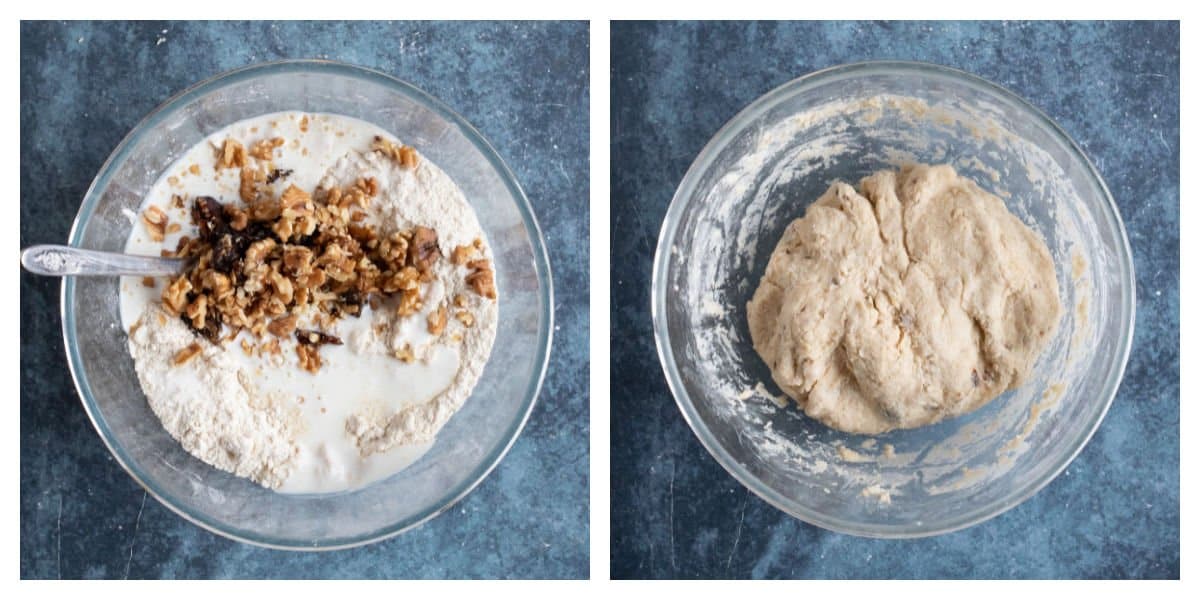
Three: Add the buttermilk to the flour, along with the chopped dates and walnuts. Use the metal knife to mix it in.
Four: Use your hands to form a dough, handling it as little as possible.
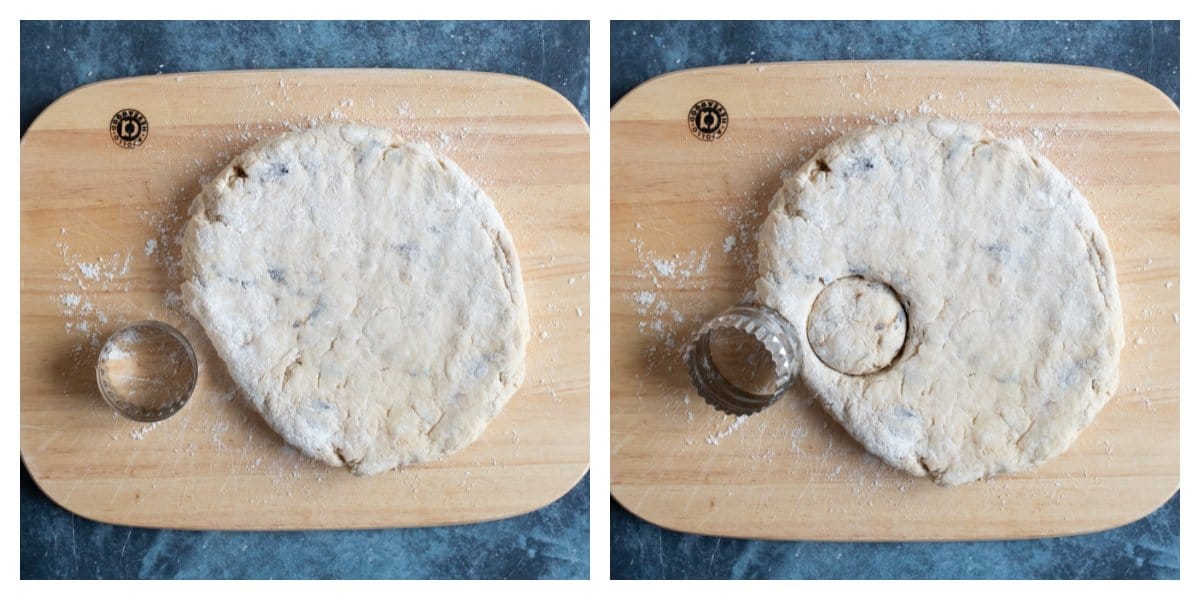
Five: Flour a worktop or wooden board and using your hands (no need for a rolling pin), shape it into a round, about 4cm thick.
Six: Use a biscuit cutter to stamp out the scones (try not to twist the cutter otherwise the tops will bake unevenly). Depending on the size of biscuit cutter, you should get around 8-10 scones from the recipe (I personally find a 5cm cutter works best). You'll need to re-form the dough a few times to get the maximum amount of scones from the dough.
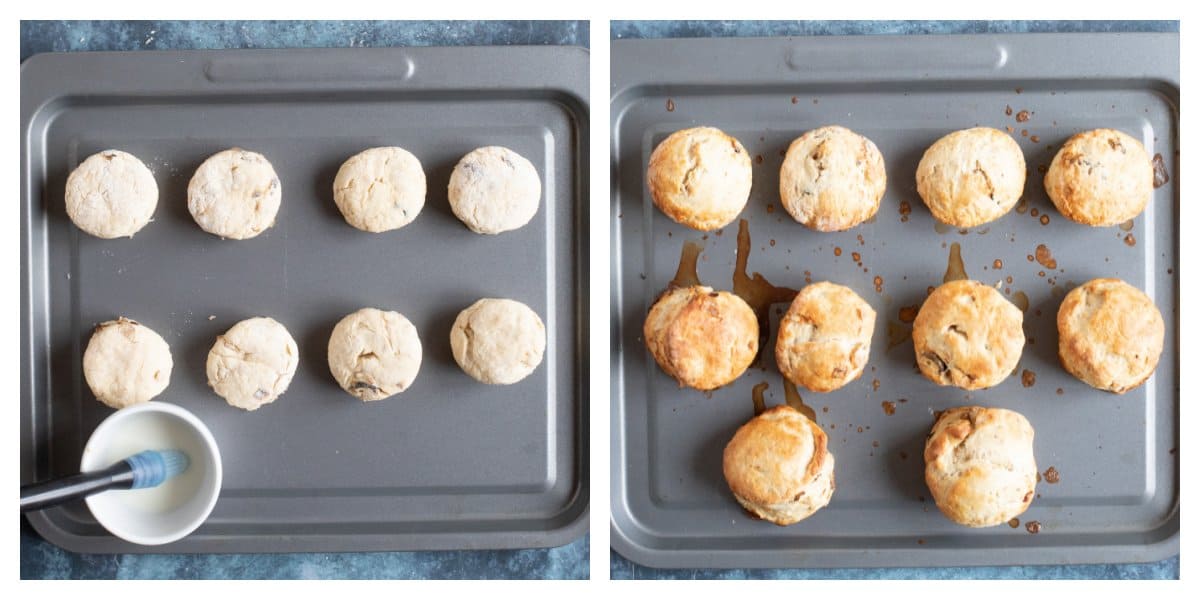
Seven: Place the scones on a non-stick baking tray (you can line your baking tray if you wish) and glaze the tops with milk.
💡 For an extra special touch sprinkle the tops with demerara sugar!
Eight: Bake in the oven for 12-14 minutes until the scones are well risen. Allow them to cool for a few minutes before removing them to a wire rack with a cake slice.
Top Tips
- If you can't get hold of buttermilk, you can make your own buttermilk by squeezing some lemon juice into milk and leaving it to stand at room temperature for 15 minutes before using. The buttermilk helps the scones become light and fluffy.
- 💡 Pro Tip: Homemade buttermilk is thinner than commercially produced buttermilk. You may not need to use the full amount as it could make your dough too thin and sticky. If using homemade buttermilk, add half the amount to start with and gradually add more if needed in order to make a soft dough.
- Always use cold cubed butter straight from the fridge. If you try to rub in soft warm butter you will be left with a sticky mess. Cold butter helps to give the scones the perfect texture.
- You don't need a rolling pin to roll out the dough. Just shape it with your hands for rustic looking scones.
🍴 Serving suggestions
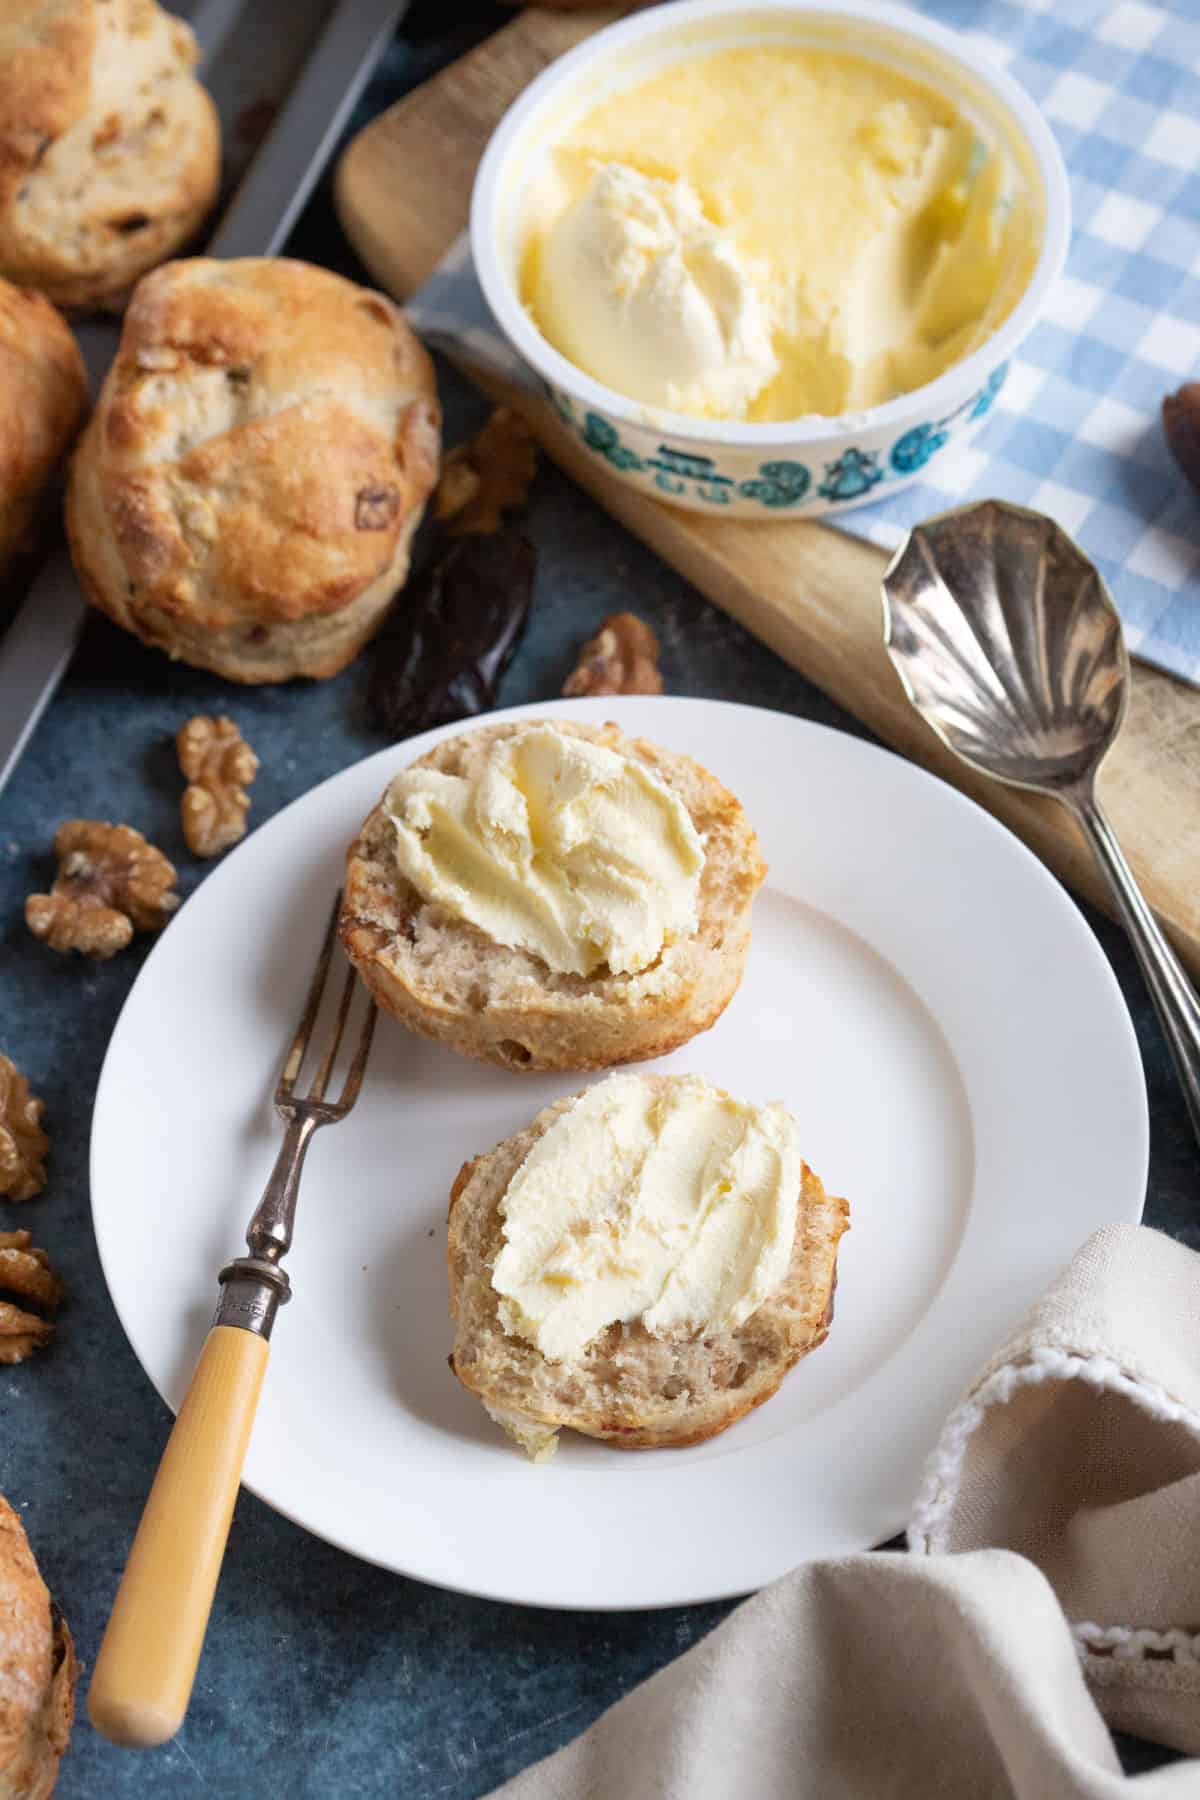
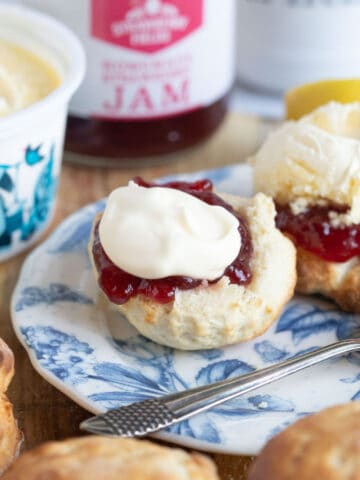
Serve the scones warm with butter or clotted cream and a drizzle of honey.
If I'm making them for afternoon tea, I'll serve the scones on a cake stand with mini sausage rolls, cucumber sandwiches, and chocolate chip flapjack.
📖 Variations
- Use wholemeal self-raising flour for wholemeal date and walnut scones.
- Try different dried fruit and nuts. Raisins, chopped dried apricots, and pecan nuts would all work well. Don't forget to try my easy fruit scone recipe!
- Omit the nuts completely and add more dates or other dried fruit.
- Add apple pieces for walnut and apple scones.
- Sprinkle with demerara sugar before baking for an extra special crunchy topping.
🥡 Storage
Fresh from the oven, scones are at their finest. Enjoy them warm for the best taste and texture.
Alternatively, you can freeze scones for up to 3 months, ensuring you always have a tasty treat on hand.
❓ FAQs
Traditional buttermilk is a thin, cloudy, slightly tart but buttery-tasting liquid that's the by-product after cream is churned to make butter. These days it is more commonly sold as a thick liquid (usually next to the cream in the supermarket), produced commercially by adding an acidifying bacteria to milk.
Dates are the fruit of a date palm. Before they're dried, dates are typically plump, shiny fruits that grow in bunches from date trees. They can be either dark purple or bright red and contain a large central pit with pointed ends. This is usually removed before the fruit is dried. Dates are a source of fructose, which is a natural type of sugar found in fruit. For this reason, dates are very sweet and also have a subtle caramel-like taste.
Using fridge-cold butter produces the flakiest, lightest scones. If the dough is allowed to get too warm, your scones will turn out dense and heavy.
Yes, you can substitute walnuts with other nuts like pecans, almonds, or hazelnuts, depending on your preference or availability.
Yes, you can prepare the dough in advance, shape it into scones, and store them in the fridge overnight. Bake them fresh the next morning for warm, delicious scones.
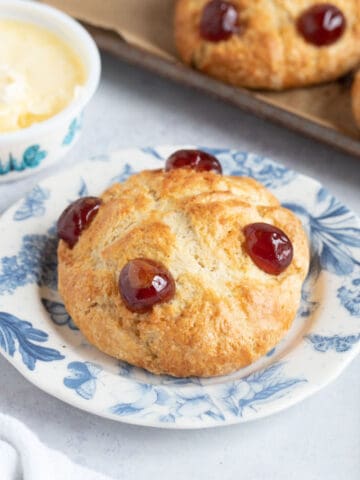
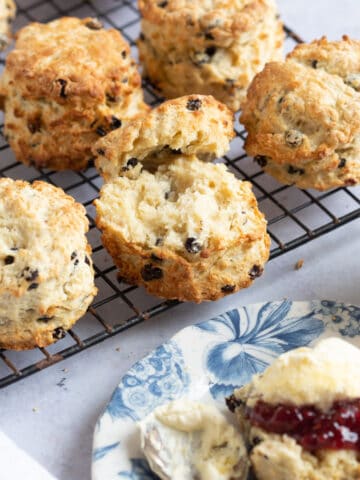
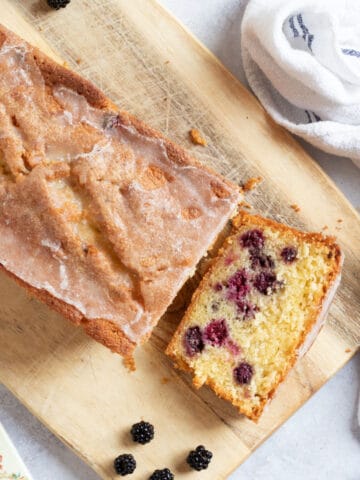
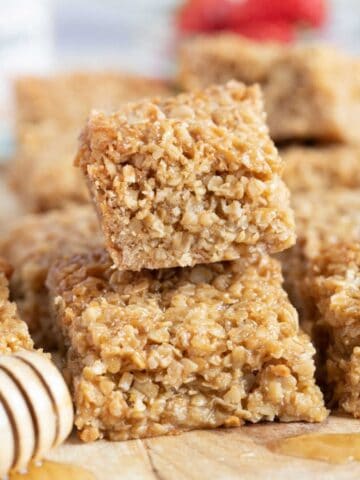
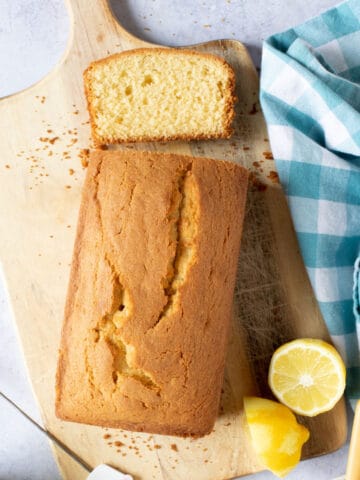
😋 More easy scone recipes
Tried it? Let me know what you think and rate it ⭐️ below. Tag me @effortlessf00d-I'd love to see! Don't forget to subscribe for more recipes.
Recipe

Easy Date and Walnut Scones
Save this recipe for later?
Ingredients
- 450 g Self Raising Flour
- 1 teaspoon Bicarbonate of Soda
- ¼ teaspoon Salt
- 1 teaspoon Mixed Spice
- 100 g Butter
- 70 g Caster Sugar
- 300 ml Buttermilk
- 50 g Dates stoned and chopped
- 60 g Walnuts chopped
- 2 tablespoon Milk for glazing
Instructions
- Preheat the oven to 220°c (200 fan/ Gas 7) and line a baking tray with baking paper.
- Sieve the flour into a large mixing bowl and stir in the salt, bicarbonate of soda, and mixed spice.450 g Self Raising Flour, ¼ teaspoon Salt, 1 teaspoon Mixed Spice, 1 teaspoon Bicarbonate of Soda
- Rub the cubed cold butter in with your hands until you get a breadcrumb consistency.100 g Butter
- Stir in the sugar with a metal knife.70 g Caster Sugar
- Add the buttermilk to the flour, along with the chopped dates and walnuts. Use the metal knife to mix it in.300 ml Buttermilk, 50 g Dates, 60 g Walnuts
- Use your hands to form a dough, handling it as little as possible.
- Flour a worktop or wooden board and using your hands (no need for a rolling pin), shape it into a round, about 4cm thick.
- Use a biscuit cutter to stamp out the scones (try not to twist the cutter otherwise the tops will bake unevenly). Depending on the size of biscuit cutter, you should get around 8-10 scones from the recipe (I personally find a 5cm cutter works best). You'll need to reform the dough a few times to get the maximum amount of scones from the dough.
- Place the scones on a non-stick baking tray (you can line your baking tray if you wish) and glaze the tops with milk.2 tablespoon Milk
- Bake in the oven for 12-14 minutes until the scones are well risen. Allow them to cool for a few minutes before removing them to a wire rack with a cake slice.
Video
Notes
- This recipe uses buttermilk. If you can't get hold of buttermilk, you can make your own by squeezing some lemon juice into milk and leaving it to stand at room temperature for 30 minutes before using. The buttermilk helps the scones become light and fluffy.
- 💡 Pro Tip: Homemade buttermilk is thinner than commercially produced buttermilk. You may not need to use the full amount as it could make your dough too thin and sticky. If using homemade buttermilk, add half the amount to start with and gradually add more if needed in order to make a soft dough.
- Always use cold cubed butter straight from the fridge. If you try to rub in soft warm butter you will be left with a sticky mess. Cold butter helps to give the scones the perfect texture.
- You don't need a rolling pin to roll out the dough. Just shape it with your hands for rustic looking scones.
Saji Cooray says
Absolutely Delicious. Thank you for the easy recipe. Soft and moist inside and crusty on the out. Just how we like it. Not overly sweet either...
Helen says
I'm a sucker for anything with dates in it and these look divine - especially topped with cream, yum!
Aimee Mars says
I love scones and I love dates, but have never put the two together! This recipe sounds incredible and it does look easy to make. I know what I'm making for breakfast this weekend!
Alison says
I have never made homemade scones, but this recipe looks so easy and delicious! I'm surprising my family with home-baked scones this weekend! Yay!
Toni says
This is such a great snack! My family loved it!
Jack says
These scones were delicious, they had an amazing texture!